Photographing books should be done in natural light. Artificial light can yellowish or make pages appear whiter, as well color distortion. You want to capture the true colors of the pages. Here are some tips to help you take the best photographs possible: Choose natural light, choose a subject, and choose a style.
Photographing books in natural light
A great way to capture their beauty is to photograph books in natural lighting. The inside pages can be tricky to shoot, especially some paperbacks are produced in such a way that they won't stay open. But there are a few tips that can help you make these photographs look as professional as possible.
Consider the background first. This is an essential element of product photography. Glossy surfaces can cause glare. A consistent background for your book shots will help you establish a brand identity. It will also give buyers an idea of the quality and thickness the book.
Selecting a background
Use a background for photographs of your books. This will make your books appear more appealing and add some visual interest. There are many backgrounds to choose from. You have the option of using a simple background color or adding saturation to make your books stand out. The background can be made of different textures or shapes.
Natural light and studio lights are best to achieve the best results. Avoid overhead fluorescent lighting as they can distort the appearance of the book and tint it. You can also place the books next to a window to reduce glare.
Selecting a subject
When taking photographs of books, angle is a crucial aspect to take into account. Your photos will look better if you choose the right angle. If possible, photograph the books in stacks, so that they give your photo dimension. When photographing stacks of books, it is a good idea also to think about their order and location.
Photographers must feel passionate about choosing the subject matter for their photo essays. The subject matter must ignite the photographer's passion and lend itself to images.
FAQ
Light Room is an excellent tool to enhance your images.
To ensure that you get the best photos for your project, it is best to start early. It's always better to take as many shots as possible and then pick the ones that will give you the most bang for your buck.
Lightroom makes this possible by showing you how different settings affect each photograph. These settings can be changed on the fly, without needing to return to Photoshop. This allows you quick experimentation to see what looks best and what doesn’t.
How can I learn photography by myself?
There are many ways you can learn to take great pictures. You have the option to buy a book and attend classes, join an on-line community, or watch YouTube tutorials. If you really want to learn how to take pictures, it's best to do it yourself. By doing it yourself, you are in complete control of what goes into each shot. And you'll continue to improve as long you keep learning.
The best thing about digital photography? You don't need any expensive equipment. All you need is an internet connected computer and a camera. All the rest is up to your imagination.
These are some suggestions to help you get started.
-
Learn how to use the manual settings on your camera.
-
Learn the basics of how to use these controls.
-
Take many photos.
-
Modify them.
-
Please share them.
-
Keep practicing.
-
Experiment.
-
Take a look at the world from different perspectives.
-
Use light sources creatively.
-
Practice makes perfect.
-
Do not be afraid to fail.
-
Be patient.
-
Have fun!
Is photography a talent or a skill?
Photography is not a skill, but an art form. This requires years of practice, training, and experiences. To master any aspect of photography, it takes years of practice and study.
Photographing is a business that requires a plan.
To do this, you need to understand what kind of clients you want to attract and find ways to reach them.
You must know their identity and what they want. It is important to communicate clearly and convincingly with them in order to convince them to use your services.
This means that you will need to be well-organized and prepared when you meet potential clients.
When you are ready to approach potential customers, you will need to create a portfolio of your work. You can do this digitally or on paper.
Once you have compiled a portfolio of work, you should start looking for opportunities to display it. You can either approach businesses directly or advertise online.
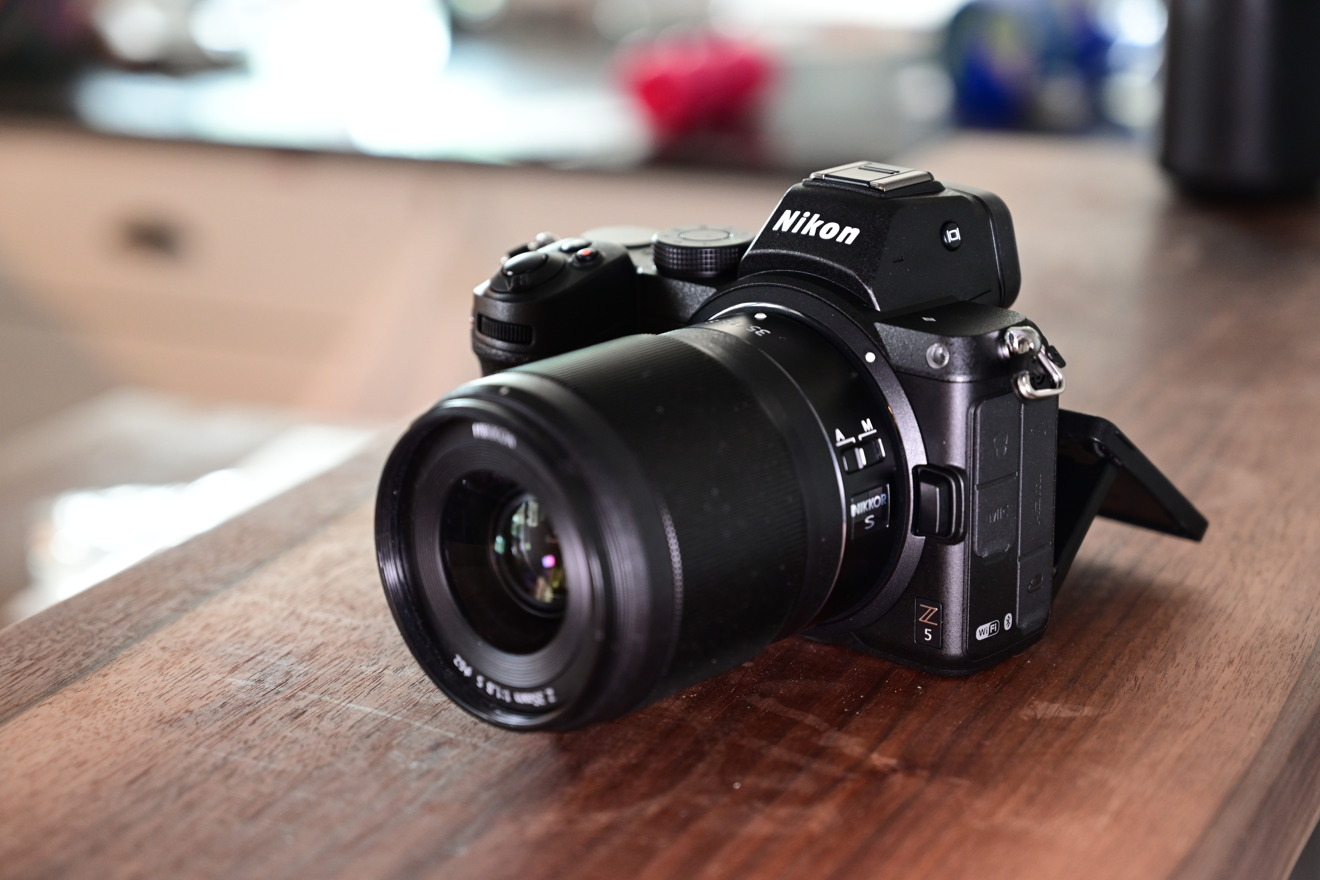
What equipment is necessary to begin digital photography
First, you need to decide what type of camera is best for you when you first start digital photography. There are many options: DSLRs (digital Single Lens Reflex Cameras), point-and–shoot compact cameras or camcorders. Each one has its advantages and disadvantages. DSLR cameras are more expensive and weigh more than other types of cameras. Point-and–shoot cameras can be smaller and lighter than DSLR cameras, and they often have automatic settings that allow for special situations. Camcorders offer excellent video recording capabilities, and may also have still photo shooting modes. Smartphones are small and lightweight so they can be easily carried.
After you have decided which type of camera you want to purchase, you need to decide if you prefer to buy a new or used model. Even if the cameras were bought in the last few decades, they can still be purchased at reasonable prices. Because manufacturers invest large sums of money in developing new technology, new models tend to be more expensive.
Next, you need to purchase lenses. The quality of your photos is directly affected by the lens. They allow you to control the lens's focal length, allowing you to zoom into the scene without losing focus. Some lenses can be equipped with flash units that are built-in, while others may require external flash units. A wide range of lenses is available from various brands, each offering unique characteristics.
You will also need memory cards. Memory cards store photos taken by your camera. You can store hundreds, thousands, or even more pictures depending on the size of the card. Multiple memory cards will be required if your plan is to take lots of pictures.
Statistics
- There are people out there who will pick at flaws they can only see in 100% crops of your photos. (wikihow.com)
- This article received 13 testimonials, and 100% of readers who voted found it helpful, earning it our reader-approved status. (wikihow.com)
- By March 2014, about 3 million were purchased monthly, about 30 percent of the peak sales total. (en.wikipedia.org)
- The second easiest way to get blurry photos 100% of the time is to use a cheap filter on the front of your lens. (photographylife.com)
External Links
How To
How to take macro shots with photography
Macro photography refers to the ability capture small objects like flowers, insects, or people close up. Macro is a Greek term that means large. If your lens has a focal distance greater than 50mm you can photograph objects that are extremely close up.
A good macro lens must have a long work distance and a fast aperture so that sharp images can be captured without having to move around. Avoid movement when taking photos, as any movement during exposure can blur your image.
Here are some ways to get great macro photos
-
Use a tripod. Set up a table or chair so you don’t knock anything over. You'll be less likely to move while you shoot.
-
Make sure you choose the right lighting. The majority of macro lenses include built-in light filter, but you can buy one separately if necessary. This helps prevent overexposure.
-
Be patient! Shooting macros takes practice. It's not always easy to see the perfect macro, but it is worth trying until you do.
-
RAW format is best. RAW files are more detailed than standard JPEGs and contain more data. RAW files can be edited later and allow for more detail such as cropping and color correction.
-
Remember to include the background. Even if your foreground object is beautiful, the background can still add interest to your photo. It's worth including it in your photograph.
-
Keep learning.