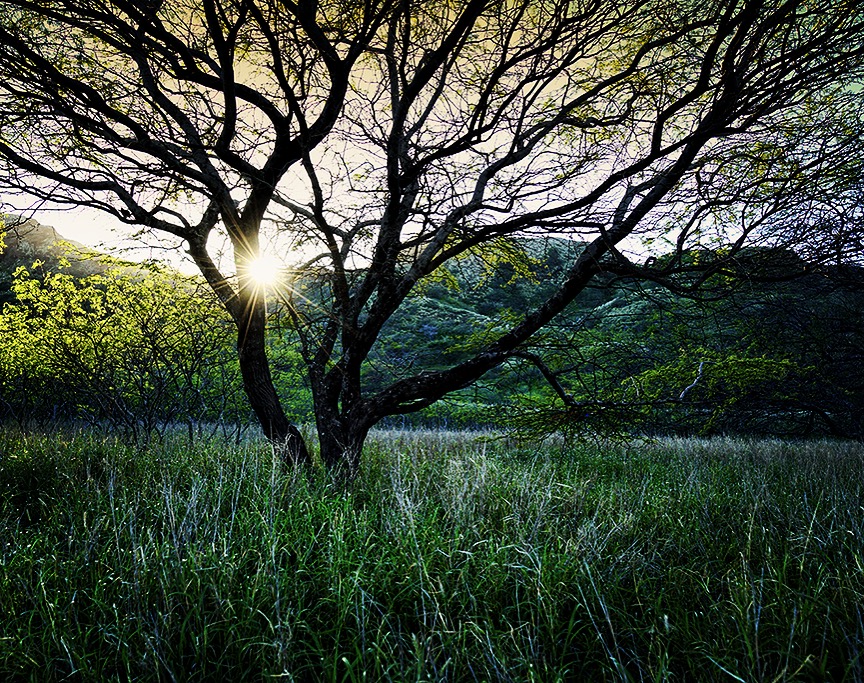
There are several things you should do if you want to get good pictures of the moon. First, ensure that your camera is set up in manual mode. Next, you need to increase the ISO. 800 is the best starting ISO. You can also adjust some of your settings if you feel the ISO is insufficient. The focal length of your lens is another thing to consider. A lens with a focal distance of at least 400mm is a good option.
Light pollution-free locations
The best places to take pictures of the moon are those with minimal light pollution. Avoid long exposures in locations with high levels of light pollution. However, it's okay to take pictures at night when there is almost no light. There are still places where you can photograph the star trails and the moon, and many other locations where there is no light pollution.
Techniques for locking exposure
If you have a long-telephoto lens, taking pictures of the Moon can be difficult. It's important to ensure a steady tripod for your camera, and use a remote shutter release that can be wired or wireless. In addition, you should lock the mirror to minimize vibrations.
Telephoto lenses
While taking pictures of the moon can be very challenging, there are a few things you should do to ensure you take a high-quality picture. Make sure that your camera has a reliable autofocus system. This will help you keep a sharp focus on the Moon. If your camera does not have this feature, you can use manual focus methods. Other features include focus peaking, or electronic guide.
Waiting until the moon rises in the sky
It's best to wait until the moon rises in the sky before you take photos. The moon's reflection will then be visible to your camera. A tripod can be used to secure your camera. This will reduce camera shake and help you produce sharper images.
Using a slow shutter speed
When taking pictures of the Moon, the shutter speed is very important. The Moon's darkest parts must be visible. Sky can be added later. For a good result, you need to set the shutter speed at between 1/30th and 1/15th of a second. This will allow you to focus deeper and avoid moon highlights being overexposed. It is also possible to avoid washed out photos that lack subtle visual interest.
Close-up shots
A close-up shot with a moon is possible only if you take additional steps. First, it's important to find a dark, quiet location. After dark, you may have to travel to a more remote area of your town or to a nearby public park. Finally, turn off any lights in the area.
FAQ
How can I learn photography by myself?
There are many options for learning how to take great photographs. You could buy a book, attend a class, join an online community, watch YouTube tutorials, etc. But if you want to master the art of taking pictures, there's nothing better than doing it yourself! That way, you have complete control over what goes into each photo. And as long as you keep learning, you'll always improve.
One of the best aspects about digital photography is that it doesn't require any expensive equipment. All you require is an internet-enabled computer and a good camera. All the rest is up to your imagination.
Here are some tips to get you started.
-
Get familiar with your camera's manual settings.
-
Learn the basics of how to use these controls.
-
Take lots of photos.
-
Make sure to edit them.
-
These are yours to share.
-
Keep practicing.
-
Experiment.
-
You can try different perspectives and angles.
-
Use light sources creatively.
-
Practice makes perfect.
-
Don't be afraid to fail.
-
Be patient.
-
Have fun
Cameras: Where to Buy?
There are lots of places online where you can buy cameras. B&H Photo Video is a reliable retailer. They have knowledgeable staff to answer your questions.
B&H ships quickly and securely to make it easy for you to get your order to your door.
This video will explain how to shop for cameras.
What is the rule or thirds?
The rule to thirds is a great way to create interesting compositions. It divides your image into nine equal parts, horizontally and vertically. It creates three main areas, where your subject should appear. These are the top (3rd from the left), middle (3rd from center) and bottom (3rd from lower right). These areas can be used as guidelines for positioning your subject within the frame.
You can avoid placing important elements too close together, or too far apart, by using the rule of thirds. They might not have enough space to make an impact on the eye if they are placed close together. If you put them too far apart, they might lose focus because there isn't much room around them.
Do I Need A Tripod?
This is one question that everyone wants to know. Although a tripod might not always be needed, they can be useful.
It allows you to hold your camera steady when taking pictures at slow shutter speeds. A tripod is a great option for landscapes and other stationary subjects.
However, a tripod can blurriness if you are photographing moving subjects, such as people or athletes. How do you decide which situations are best served by a tripod.
A tripod is an essential tool for photographing fast-moving subjects or stationary objects. Examples include:
-
Sports
-
People
-
Landscapes
-
Close-ups
-
Macro shots
Try this test to find out if you really need a tripod. Take your camera and hold it still. Then, look through the scope. A tripod is required if there are blurred lines, movement or other issues.
A tripod will not improve blurring if you don't notice it.
However, if you do decide to invest in a tripod, here are some tips to keep in mind.
-
Smooth legs are a must for your tripod. This will prevent unwanted vibrations from shaking your lens.
-
Choose a sturdy tripod. Some tripods may be made from plastic, which can make them less durable. Instead, choose a metal tripod.
-
You might consider purchasing a remote control. This allows you to control your camera remotely. The button can be pressed to activate the shutter.
-
A tripod that can rotate 360 degrees is a good choice. This makes it easier to position your camera vertically or horizontally.
-
Remember that tripods can be expensive. Expect to pay around $100-200. However, you'll get a lot of value for your money.
-
Accessories like memory cards and filters should not be forgotten.
-
Before ordering online, you should check in your local shops. Many retailers offer free shipping.
-
Review a product to find out what other customers think.
-
Ask family and friends who have similar products.
-
Visit forums and message boards to learn about customer experiences.
-
Look online for user reviews.
-
Use websites like Amazon.com to compare prices and read customer feedback.
-
Check out these photo galleries for an example of the work that photographers do with their tripods.
Light Room is a great way to enhance your photos.
Start early to get the best photos possible for your project. It's better if you take as many shots possible before you decide on the ones that give the most value.
This is possible because Lightroom lets you see how different settings affect each image. These settings can also be modified on-the-fly in Lightroom without ever having to open Photoshop again. This allows for quick experimentation with what looks good or not.
Statistics
- In this case, 100% of readers who voted found the article helpful, earning it our reader-approved status. (wikihow.com)
- By March 2014, about 3 million were purchased monthly, about 30 percent of the peak sales total. (en.wikipedia.org)
- While I cannot prove that all of those spots were not sensor dust, the photo was taken during a heavy snowstorm…so I guess that 99.8% of the spots are snowflakes. (bhphotovideo.com)
- That's the easiest way to get blurry photos 100% of the time. (photographylife.com)
External Links
How To
How to take macro shots in photography
Macro photography can be defined as the ability of taking pictures at close range of small objects, such insects or flowers. Macro comes from the Greek makros (makros) which means large. A lens with a focal length over 50mm can be used to take photos of objects very close up.
A macro lens with a good working distance should be able to capture sharp images even when you are not moving too much. It is important to avoid motion while taking photos. Anything that moves during exposure may blur your image.
Here are some tips and tricks to make great macro shots:
-
Use a tripod. You can use a tripod if you don't own one. This will make it less likely that you are moving when shooting.
-
Choose the right lighting. The majority of macro lenses include built-in light filter, but you can buy one separately if necessary. This prevents excessive exposure.
-
Be patient! Shooting macros takes practice. Even though you might only see one tiny bug or flower at a time, it is worthwhile to continue shooting until you capture it.
-
RAW format is best. RAW files have more data than JPEGs. They can store more detail. RAW files are best for editing later because you can make adjustments like cropping and color correction after the fact.
-
Remember to include the background. The background can sometimes add interest to your shot even though it is a foreground item. Make sure to include it in the photo.
-
Keep learning.